A laundry-and-drying zone for a small apartment
Give sorting, the trip to the washer, air drying, and putting clothes away a place in the same routine.
As an Amazon Associate I earn from qualifying purchases. How our shopping links work.
The short answer
Keep the sorter at home, prepare a clean return basket, and open the drying area before washing. Use the room's humidity and your actual walking route to decide whether the setup works.
An editorial plan based on published product documentation. Layout examples are illustrative; this is not a physically tested kit.
Before carrying a load to a shared washer, open the drying rack at home and pack a clean return basket for the trip. Otherwise, damp clothes can arrive before you have cleared somewhere to hang them. With an in-unit washer, prepare both before starting the cycle.
Build the routine around the return trip. Decide which garments will air-dry, where the loaded rack will stand, and when that part of the room must be available again. The hamper can stay put throughout.
Keep the sorting spot separate from the drying spot
Place the hamper where you usually change clothes, with room to lift out its contents. Sort according to the care labels and the loads you actually wash. Two compartments might separate machine-dry items from air-dry items; they do not have to mean lights and darks.
Keep laundry supplies in their labeled packaging in suitable secured storage. Use a small carry caddy if supplies need to travel to a shared laundry room. A caddy you already own can do this job.
For clean clothing, set aside a basket that can take damp laundry back from the washer and collect dry pieces later. Keep it empty between those jobs. The return basket should not become another place to accumulate unwashed clothes.
Assign each piece of the kit a job
The three models below are documented examples for different stages. Reuse an existing sorter, basket, or rack when it already meets the same need.
We may earn a commission from purchases made through the Amazon links below.
Scroll to compare
| Job | Example or existing item | Space and use check |
|---|---|---|
| Sort and carry dirty laundry | Joseph Joseph Tota Twin 60L Gray, 50001 | Two removable 30-liter tote bags. Assembled size: 28 inches high by 15¾ inches wide and deep. Reserve this footprint permanently. |
| Bring back damp clothes and collect dry ones | Joseph Joseph Hold-All Gray 35L, 50023 | Open: 9.8 inches high by 20.9 wide by 14.2 deep. Flat: 0.8 inches high, with the same width and depth. Maximum load: 19.8 pounds. |
| Hang suitable garments | Honey-Can-Do DRY-09221 compact accordion rack | Open: 22.5 inches long by 14.5 wide by 41.25 high. The maker describes a 3-inch folded profile but does not give the full folded outline or a numerical load limit on its page. |
| Check the room and finish the load | An existing humidity meter, clean table, hangers, and clips | Keep the meter where its instructions specify. Clear the table only when you are ready to fold. |
The Tota's two compartments do not define two washer loads. Washer instructions, garment care, and the available drying arrangement still govern the batch. Before buying the rack, obtain its complete folded measurements if your storage slot is tight.
Prepare the return area before starting the wash
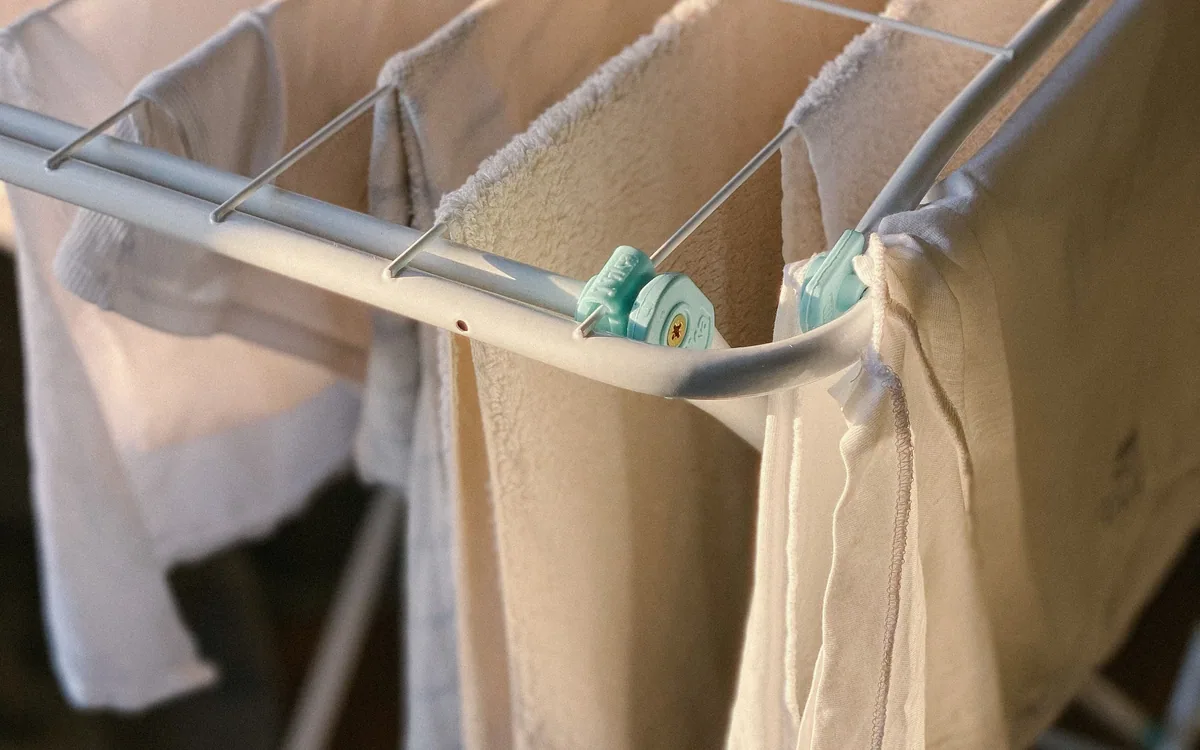
Open the rack in its normal working position. Leave access to the bars you will use and enough room to put down the return basket while unloading it. Check that hanging clothing will stay clear of surrounding furniture and walls.
Walk the route from the apartment entrance to the rack carrying your empty basket. Include turns, door handles, and the place where you put down keys. Then check the routes you will need while clothes are drying, especially the way to the bathroom and exit. Keep doors fully usable and the route clear. The necessary clearance depends on your room and household; a product's footprint cannot supply a universal aisle measurement.
Have an alternative for garments that need flat drying. This accordion rack is a hanging station; its listed dimensions do not establish a suitable flat support for a sweater. The drying-rack guide covers garment fit in more detail.
Take only the planned batch to the machine
For a shared laundry room, take the sorted batch in its removable bag and bring the empty clean return basket too. A folding basket can travel flat on the outward trip. Keep the supplies in their caddy. Bring only what you can handle comfortably on your actual stairs or elevator trip. A basket's maximum load is a product limit, not a target carrying weight.
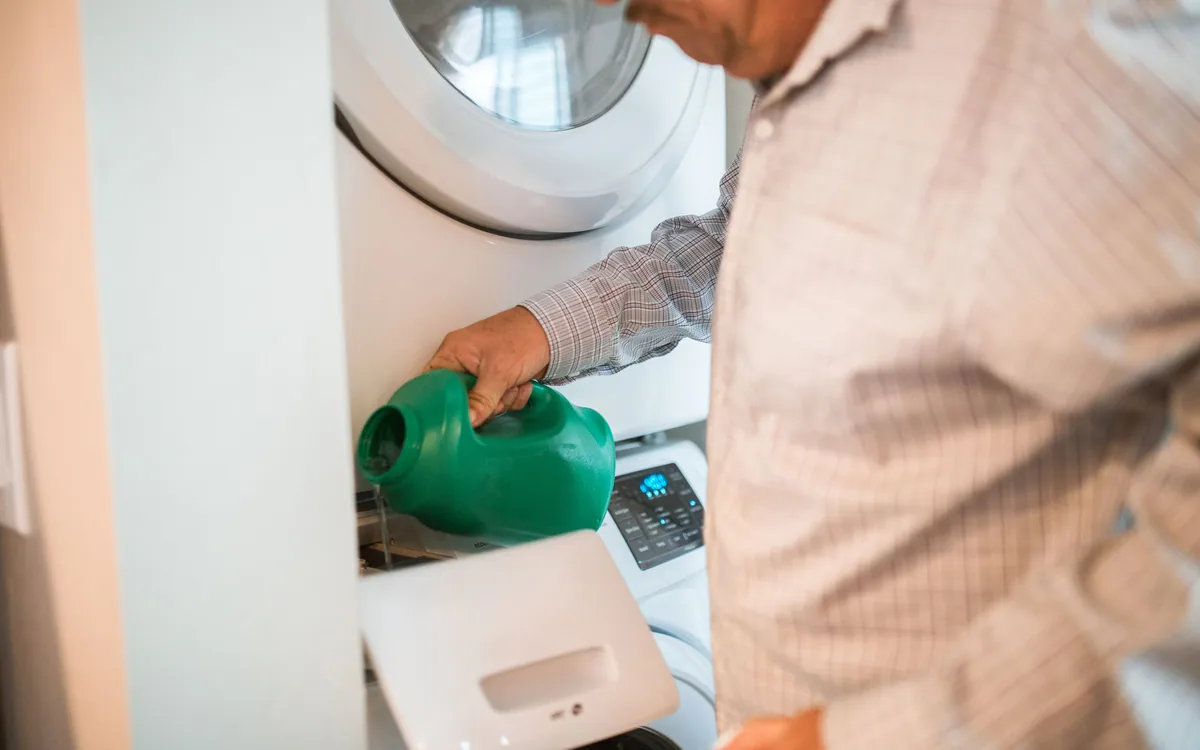
Check the machine instructions and garment labels before loading. The HE detergent guide explains the dispenser step. Set a reminder for the cycle's end so the wet return does not depend on remembering later.
For an in-unit machine, keep the basket outside the door's opening arc while loading. Once the wash finishes, transfer the air-dry items to the prepared rack. Put items permitted for machine drying through the appropriate separate drying step.
Unload onto the rack before starting another batch
Separate the damp pieces as you take them from the return basket. Follow their drying instructions and leave visible gaps between hanging items. Use the rack's setup and loading instructions; the load limit of a different model does not apply.
Keep yesterday's drying separate from the incoming batch. If the planned bars are still occupied, finish that load or postpone the next wash. Do not solve the shortage by draping clothes over the chair that keeps the walking route open. Once the basket is empty, move it out of the working area and let its interior dry.
Let the room's moisture conditions change the plan
Check relative humidity before hanging the load and again while it dries, following the meter's instructions. EPA recommends keeping indoor relative humidity below 60 percent, ideally between 30 and 50 percent when possible. That is guidance for managing indoor moisture; it does not predict a laundry drying time.
Use ventilation when outdoor conditions permit. EPA advises avoiding outdoor-air ventilation during high outdoor pollution or pollen, or extreme temperatures and humidity. In warm, humid weather, opening a window can bring in more moisture. Air conditioning or a dehumidifier may be needed; operate any equipment according to its instructions.
If condensation appears on windows or walls, dry the wet surface and address the moisture source promptly. Pause additional indoor loads while you resolve the problem. Persistent moisture problems belong with the landlord or building manager. A fan moving air around the rack does not establish that the apartment has adequate moisture control.
Try this route in a one-bedroom apartment
As an organization example, keep the sorter beside the bedroom closet. Take one removable bag and the collapsed clean return basket downstairs; open that basket for the washed clothes. Before leaving, open the rack beside the dining table, on the side away from the route between the entrance and bathroom.
That arrangement works only if the loaded rack leaves the table usable as needed. If a chair cannot move or sleeves hang into the route, reduce the air-dry batch or choose another location. Plan around the next meal without assuming clothes will dry by then.
When each piece is fully dry, fold it on the cleared table or put it on its hanger, then carry it directly to storage. Leave damp pieces hanging. Once empty and dry, close the rack and return it to its storage spot. Let the return basket dry before collapsing it, and put the supplies away.
We may earn a commission from qualifying purchases.
Find the Honey-Can-Do DRY-09221 on AmazonOpens Amazon.com. Check the exact model, seller, and current terms before ordering.
A useful next read.
Keep the whole purchase in view.
Choose HE detergent for your washer and dosing routine
Match the detergent format, concentration, and measuring method to the exact washer dispenser.
Read the guide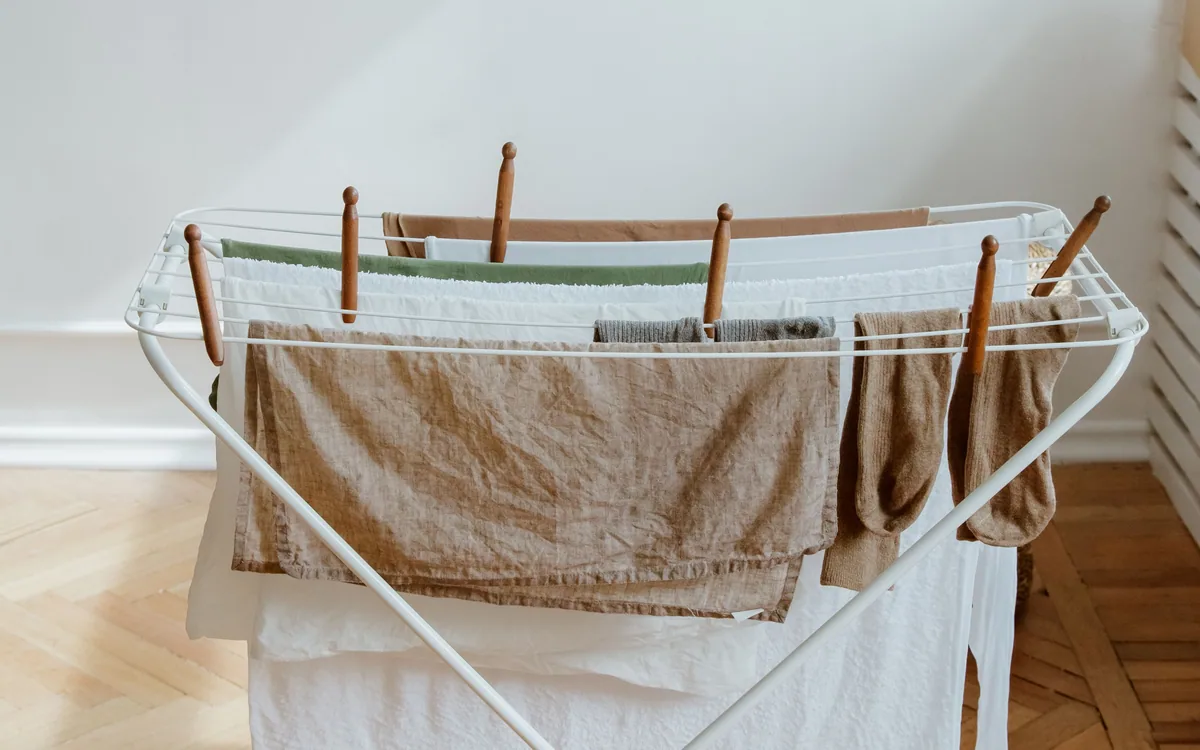
Choose an indoor drying rack for the load and the room
Compare hanging length, garment drop, flat drying space, and the room a loaded rack needs.
Read the guide
Storage bins or vacuum bags for seasonal clothing
Match seasonal textile storage to care instructions, compression limits, and how often you will reopen the group.
Compare the options