Measure a cabinet for shelves you can reach and remove
Check the clear door opening, hinge obstructions, loaded height, and the route an organizer needs to come back out.
As an Amazon Associate I earn from qualifying purchases. How our shopping links work.
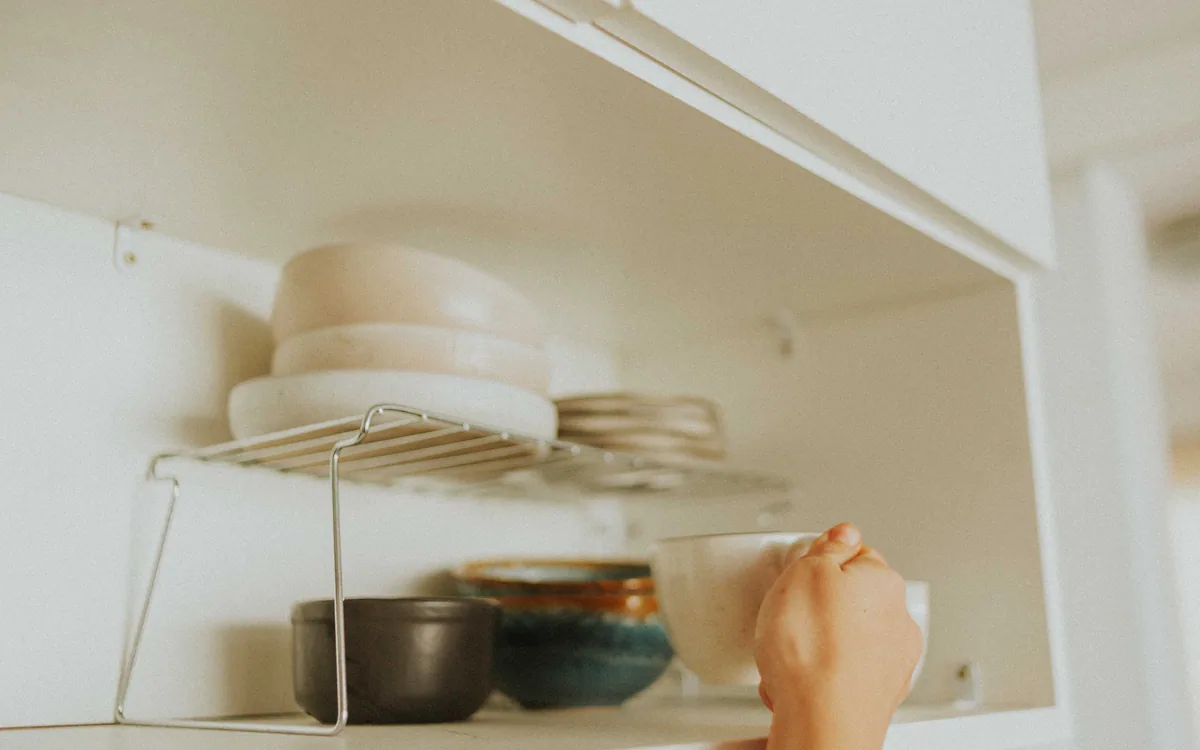
The short answer
Measure the entry passage and interior separately. A paper footprint and a loaded-height check can rule out an organizer before installation.
Measure the passage through the door
Open the cabinet as far as it normally opens, with adjacent doors and appliances in their everyday positions. Measure the narrowest clear passage an organizer must pass through. The cabinet's outside width and its roomy interior can both be larger than that opening.
A face frame forms a border around the front of the cabinet box. Hinges can reduce the clear space further. Rev-A-Shelf's measuring guidance asks for inside opening dimensions and specifically calls out hinges and other obstructions. Record the cabinet construction along with the measurement so you can use the correct installation diagram.
For a freestanding shelf, include the route used to tilt it into place. A unit may sit comfortably inside once assembled but fail to pass through the door. Check whether assembly inside the cabinet is permitted and whether you can reach every required fastener.
Separate the opening from the space behind it
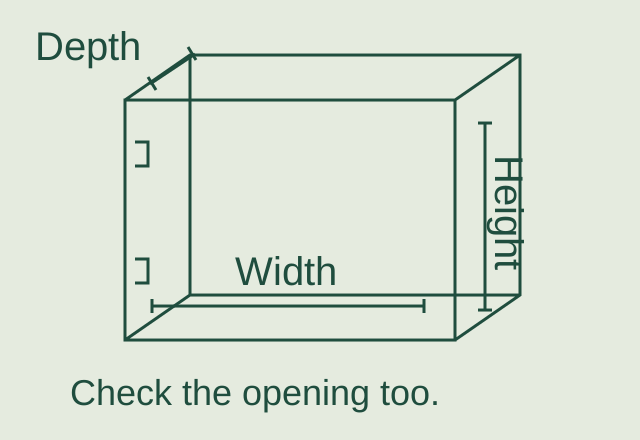
Create two sets of notes. One describes the entry passage; the other describes the usable space after the organizer is inside. Measure width, depth, and height in both places where applicable.
The opening decides whether a sliding basket clears the door and frame. The interior decides whether its rails, back brackets, and stored objects fit. Keep the hinge-side space visible on your sketch. If a door stays partly in front of a slide-out basket, the useful opening is the space left beside the door.
Do not subtract a standard allowance from every cabinet. Manufacturer requirements vary with the mounting system. Compare your measured clearances with the exact product's minimum opening and installation instructions.
Scroll to compare
| Record | Where to measure | What it controls |
|---|---|---|
| Clear entry width | Between the closest obstacles with door open | Passage of shelf or basket |
| Usable depth | From the required mounting position to the rear obstruction | Rails and rear brackets |
| Working height | Above the cabinet floor or chosen shelf | Organizer and objects on it |
| Shelf removal path | Through the door at the necessary angle | Cleaning and future rearrangement |
| Space outside | In front of the open cabinet | Pull-out travel and your standing position |
Include what you put on the shelf
An organizer's overall height can leave too little room to lift an object off its upper level. Measure the tallest item in the position you intend to store it. Add the actual movement needed to pick it up, tilt it, or remove a handle from beneath the shelf above.
Make a cardboard profile of that item if reaching into the cabinet is awkward. Place it on a temporary support at the proposed shelf height. Try the removal motion with the door open. This exercise reveals access problems that a height measurement alone misses.
For example, a 10-inch-tall cleaning brush beneath a shelf with 10.5 inches of clearance leaves only half an inch above it. That may allow upright storage but prevent you from lifting it over a front rail. The numbers are an illustrative layout, not a prescribed clearance.
Check the support and the permitted load
A pull-out organizer transfers force through its mounting points when extended. Follow the specified cabinet construction, mounting method, hardware, and load limit. Avoid treating a loosely placed shelf as a substitute for a unit designed to be secured.
Simplehuman lists its KT1119 pull-out organizer with a steel frame and a 20-pound capacity. That is the rating of that product, not a general allowance for your cabinet floor. Check the cabinet's condition and the installation requirements before assuming it can support a particular mechanism.
For an adjustable shelf, confirm that the existing shelf supports suit the cabinet and intended use. If the cabinet documentation is missing, obtain advice from the cabinet maker or installer before adding a heavy load or drilling new mounting points.
Build a full-size footprint
On paper, draw your measured usable area at full size. Cut another piece to the organizer's largest outside footprint, including any rail or handle projection shown in its diagram. Slide it through the sketched opening and into position.
Now add the actual stored objects. A narrow basket might fit the opening yet leave an awkward unused channel along the wall. Two smaller removable shelves could use the space differently. Compare the layouts by reaching and removal, rather than trying to fill every square inch.
For a hypothetical 15-inch clear opening with 21 inches of usable depth, a 14-by-20-inch paper footprint leaves space on the drawing. It still needs the product's prescribed installation clearance and confirmation that its moving parts clear the hinges. Passing this paper exercise is a reason to inspect the installation sheet, not a fit guarantee.
Keep a way to remove the organizer
Check how the basket or shelf comes out after installation. Cleaning the cabinet, checking a spill, or reaching a rear mounting screw should not require dismantling an unrelated stack of objects. Identify any release catches in the manual and leave access to them.
Save the completed sketch with the product model and dimensions. Recheck the selected size before ordering, because a product family may contain several widths under one listing. For a cabinet containing plumbing, use the additional pipe and shutoff access checks. A shallow desk drawer needs a different layout; the office drawer guide works from the objects you reach for.
We may earn a commission from qualifying purchases.
Explore cabinet organizers on AmazonOpens Amazon.com. Check the exact model, seller, and current terms before ordering.
A useful next read.
Keep the whole purchase in view.
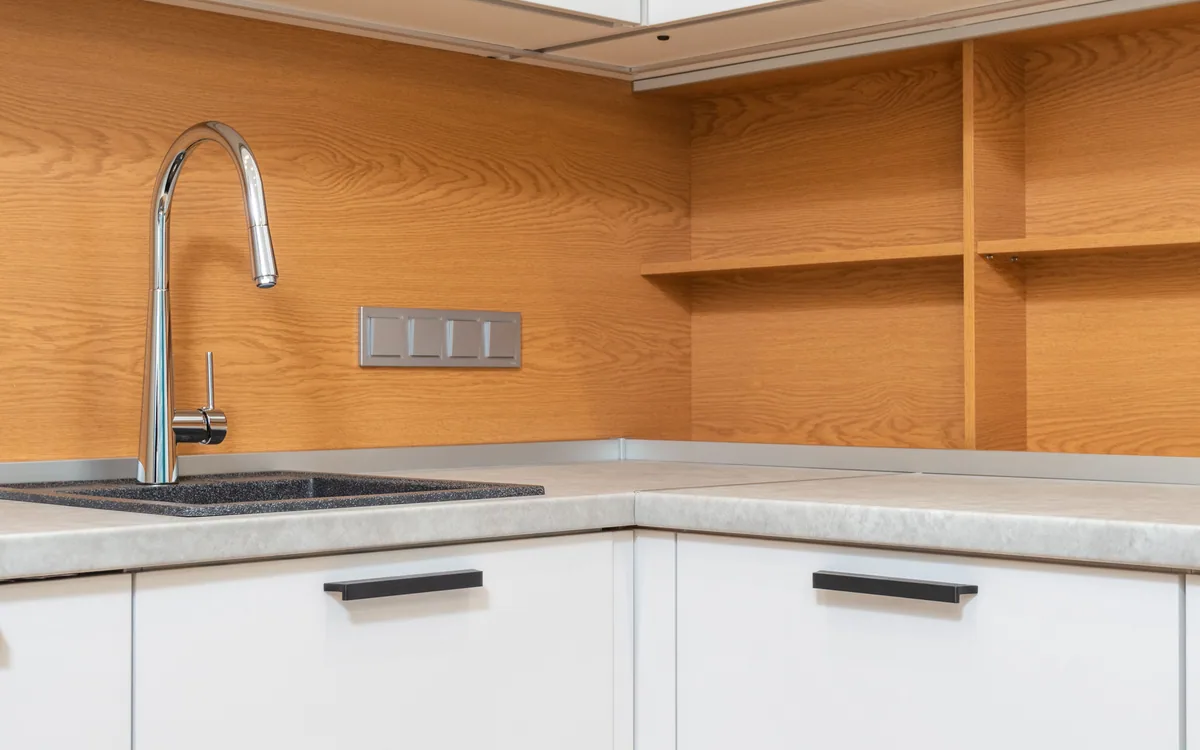
Under-sink organizers: leave a route to pipes and shutoffs
Map plumbing at several heights, check door movement, and choose storage you can remove for access.
Read the guide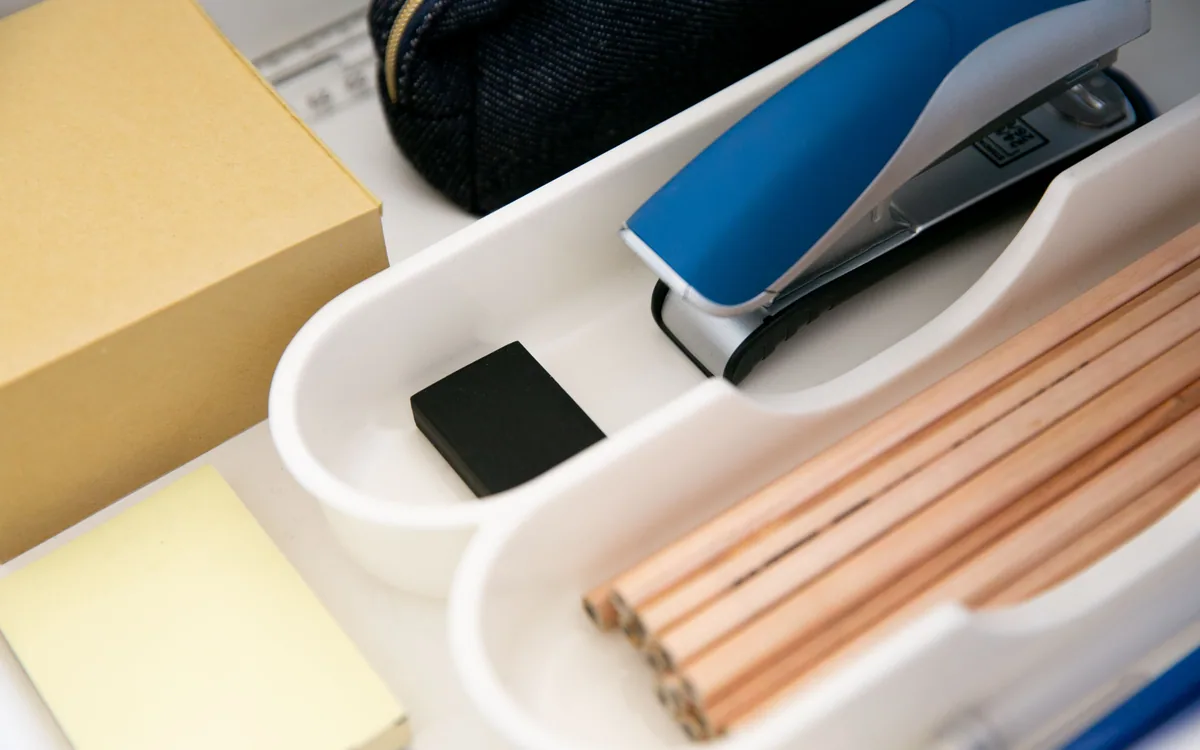
Arrange an office drawer around the objects you reach for
Use full-size paper shapes to place pens, tools, and small accessories in a drawer you can close and use.
Read the guide
Set up a first apartment by the jobs you need to do
Use the first week to finish daily tasks, measure the awkward spaces, and buy for the problems that repeat.
Read the guide